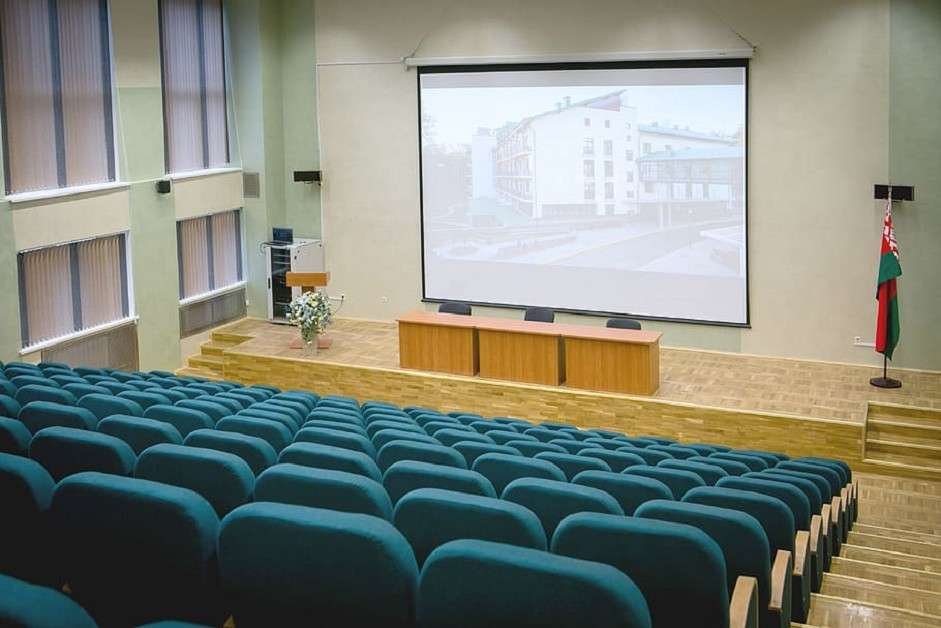
If you’re someone who enjoys the thrill of watching movies or playing video games on a big screen, having a projector screen can take your experience to a whole new level. While there are plenty of ready-made projector screens available on the market, creating your own screen can be a rewarding and cost-effective alternative. By following this comprehensive guide, you’ll learn the step-by-step process of making a projector screen that can be customized to your specific needs and preferences. So, let’s dive in and discover how to create a remarkable projector screen right in the comfort of your home!
Gather the Necessary Materials
Before you embark on your projector screen project, it’s essential to gather all the materials you’ll need. The following are the essential items:
- A white fabric or material with high reflectivity, such as blackout cloth or PVC projection screen material. The fabric should provide a smooth and even surface for projecting images.
- A frame material to hold the screen. This can be PVC pipes, wooden boards, or aluminum framing, depending on your preference and availability.
- A measuring tape to determine the dimensions of your screen.
- Scissors or a utility knife to cut the fabric.
- A sewing machine or fabric glue for attaching the fabric.
- A staple gun and staples to secure the fabric to the frame.
Measure and Cut the Fabric
The first step in making your projector screen is to measure and cut the fabric according to your desired screen size. Take your measuring tape and determine the dimensions that match your preferred aspect ratio, such as 16:9 or 4:3. Once you have the measurements, use scissors or a utility knife to carefully cut the fabric, ensuring clean and straight edges.
Prepare the Frame
With the fabric ready, it’s time to prepare the frame for your projector screen. Depending on the material you’ve chosen for the frame, you may need to cut and assemble the pieces accordingly. PVC pipes can be easily cut using a pipe cutter, while wooden boards and aluminum framing may require a saw. Follow the instructions specific to your chosen frame material to create a sturdy and well-fitted frame.
Attach the Fabric to the Frame
Now that you have your frame prepared, it’s time to attach the fabric to it. Lay the fabric flat on the ground or a large working surface, ensuring the reflective side is facing down. Place the frame on top of the fabric, making sure it aligns with the edges. To secure the fabric to the frame, use a staple gun to staple it at regular intervals along the edges. As you staple, make sure to pull the fabric taut to prevent any wrinkles or sagging.
Add a Border (Optional)
To give your projector screen a professional touch and further enhance contrast, you can add a border using black velvet fabric. Cut the velvet fabric into strips and attach them to the edges of the screen using fabric glue or a sewing machine. The black velvet border serves to absorb excess light, creating a sharper and more immersive viewing experience.
Mount or Install the Projector Screen
With the fabric securely attached to the frame, it’s time to mount or install your projector screen in your desired location. Depending on your preference and available space, you can mount the screen on a wall, suspend it from the ceiling, or create a stand for it. Ensure that the screen is positioned at an appropriate height and angle for optimal viewing.
Test and Adjust
Once you have installed your projector screen, it’s crucial to test it with your projector and make any necessary adjustments. Connect your projector to a video source and project an image onto the screen. Check for image quality, brightness, and focus. If needed, make minor adjustments to the screen’s positioning or projector settings to achieve the best visual results.
Read Also: Common Business Problems A Startup Can Face In Its Initial Phase
Conclusion
Congratulations on successfully creating your own projector screen! By following the step-by-step instructions provided in this guide, you’ve not only saved money but also tailored the screen to your specific preferences. Now, sit back, relax, and enjoy the immersive experience of watching movies or playing games on your very own DIY projector screen. Let your creativity shine as you take your home entertainment to new heights. Happy projecting!
Etech Sense presents an unparalleled chance to embrace and harness the most recent advancements in technology, providing a wide array of knowledge and expertise. Our primary goal is to make notable progress by utilizing state-of-the-art projectors, captivating visual displays, expertly engineered audio solutions, valuable artifacts, and a multitude of astonishing marvels.


